
Now that we’ve laid the foundation of lists and segmentation, let’s “open the door” to Forms.
Forms are the doors to your contact database since contacts enter your database by submitting information with forms. ![]()
Without them, you’re missing out on a crucial way to connect with potential customers and keep current customers updated.
A well-placed form makes it easy for people to sign up and join your list, so you can keep the conversation going and build relationships over time.
Inline forms are like having a friendly chat with someone right at your front door since people can sign up for your email list without leaving the page they’re on.
It’s smooth and seamless, which can really boost your sign-ups!
On the other hand, forms that pop up or redirect users to a new page are like asking someone to step into a different room for a chat. While they still get the job done, they might interrupt the flow and potentially turn people away.
Inline forms keep things quick and convenient, helping you capture those valuable leads with minimal fuss.
So let’s put this build one together in today’s Task of the Day!
Day 7 - Task of the Day:
- Click Website > Forms on the left menu.
- Click the “Create new form” button.
- Type the name of your form into the field provided and select the form style you wish to use. (For this example, select “Inline Form”).
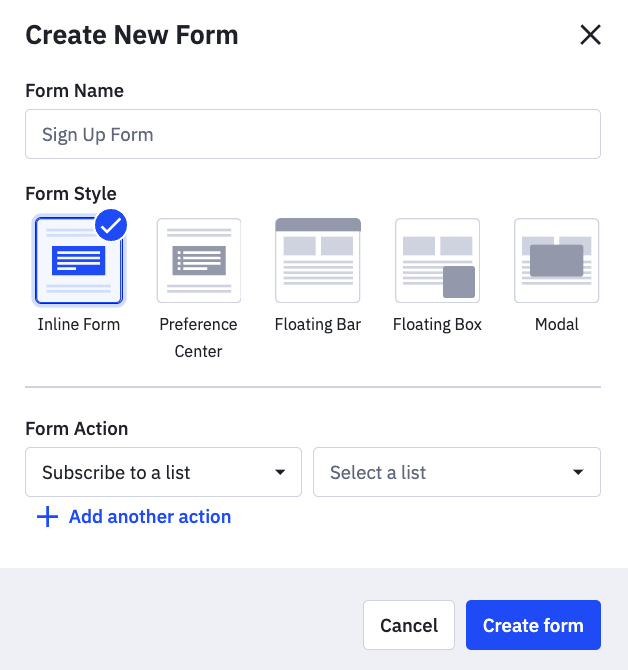
- Click the “Action” dropdown, then click the action you want. You can choose from any of the following:

- Subscribe to a list -Subscribes the contact to your list. You can use a double opt-in (default) or single opt-in
- Add a tag - Adds a tag to each contact who submits your form
- Add to a deal -Creates a deal for each contact who submits your form
- Email results - Sends a notification to anyone on your team each time a contact submits your form
Note: You can add as many actions as you like to a form. You can also update actions and add more actions to your form during the form creation process or after publication.
-
Click the dropdown next to “Form Action” to select an option to match your action. The items displayed in this dropdown will differ based on the selected action.
-
Click the “Create form" button.